How to Choose a Glucose Meter Without Overpaying
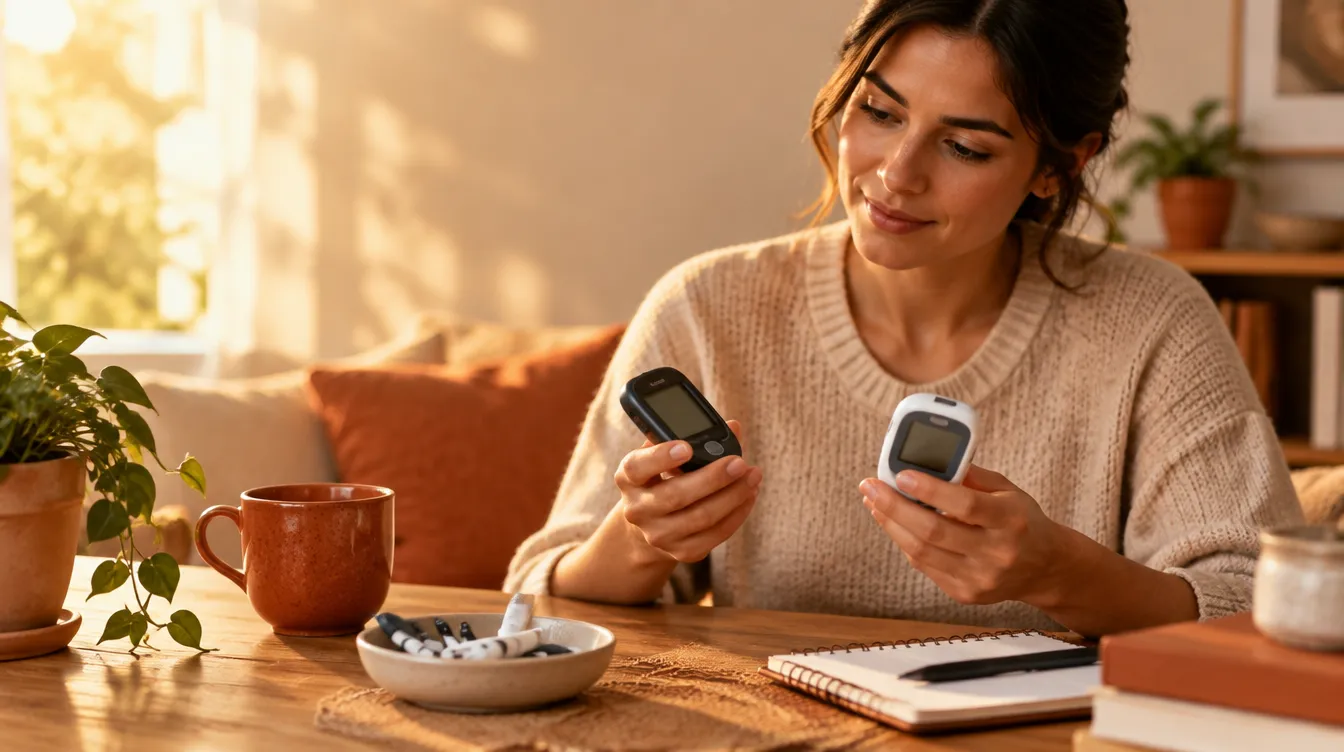
Quick answer: a good glucose meter is accurate, uses test strips you can afford all year, and matches how often you actually plan to test. The meter is almost never the expensive part — the strips are. Compare meters by their strip price and coverage, not the sticker on the box.
Standing in the pharmacy aisle or scrolling an online store, every meter box seems to promise the same thing: easy, accurate, painless. The price tags look reasonable — until you realize the strips inside each box are the real cost, and they keep coming for as long as you test.
This guide walks through what actually matters when you choose a meter for type 2 diabetes, in plain language. Everything here is educational and works alongside the guidance your care team has given you; if they have recommended a specific meter or system, their advice comes first.
What actually matters when choosing a glucose meter?
Quick answer: four things — accuracy you can trust, strip cost over a full year, how easy the display and buttons are for you to use, and whether your data can be shared with your care team.
The meter’s job is simple: it reads the strip and gives you a number you can act on. Everything else is convenience. So the checklist is short:
- Strip cost. This is the number that decides your real yearly cost, and it varies more between brands than the meters themselves do.
- Accuracy. Look for meters that meet current accuracy standards — most well-known brands do. Your pharmacist can confirm a meter is a reputable, regulated brand in minutes.
- Usability. Big numbers on the screen, a simple button layout, and a lancing device that doesn’t hurt enough to make you skip tests.
- Data sharing. Some meters connect to an app or export results your care team can read at your next visit.
A meter that wins on all four is rarely the one with the biggest display or the most features — it’s usually one of the boring, well-reviewed ones.
Why is the meter cheaper than the strips?
Quick answer: meter makers often sell the device at a low price and earn on the strips you buy every month. Before buying any meter, check the strip price for the brand — that is your real cost.
This is the step most people skip, and it’s the one that decides whether your meter feels cheap or expensive six months later. Do a quick yearly estimate: Related: Five Carb-Budgeted Dinners From One Sunday Prep walks through this step by step.
- Multiply your planned tests per day by 365 (a meter you test with twice a day is about 730 strips a year).
- Multiply that by the strip price for your meter’s brand.
- Compare that yearly strip total between brands before you choose.
If brand A’s strips cost twenty cents more per strip than brand B’s, that’s over $140 a year at two tests a day — often more than the entire cost of either meter. Also check whether your insurance or provincial plan covers specific brands, because that can flip the math completely.
Which features are worth paying for?
Quick answer: a memory with averages, Bluetooth to an app, and results in under 10 seconds are genuinely useful. Paying extra for features you won’t use — like full graph screens or every alternate site test — rarely pays off.
Worth having if you’ll actually use them:
| Feature | Why it helps |
|---|---|
| Result memory with averages | Shows patterns your care team can use, not just isolated numbers |
| Bluetooth / app sync | Stops you from writing numbers on paper and losing them |
| Fast results (under 10 seconds) | Makes testing easier to fit into a workday |
| Strip lights | Helps if you ever test in low light |
The features that sound impressive in the store — tiny graphs on the meter screen, voice playback, etc. — matter only if you would use them on a tired Tuesday evening. If in doubt, take the simpler meter and put the savings toward strips.
Where should you buy your meter?
Quick answer: a local pharmacy first, an online store second. A pharmacy gives you the right strip refills on the spot and someone to ask questions to; online is fine once you know exactly which strips your meter uses.
Buying locally has one quiet advantage: the pharmacist can show you how the lancing device feels before you commit, and you can start your strip refills the same day. Online stores are often cheaper per box of strips, which is worth using once you know your system well.
Whatever you choose, buy the strips made for your exact meter model — “close enough” brands do not exist here, and an incompatible strip simply won’t read.
What should you ask before you pay?
Quick answer: five questions — strip price and coverage, whether your plan reimburses this brand, how to calibrate or code it if needed, where to get the strips in six months, and what the warranty covers.
Ask these at the counter or check the listing before checkout: Related: How to Find a Good Diabetes Doctor Near You — and What to Ask at the First Visit walks through this step by step.
- What do the strips for this meter cost, and are they stocked here?
- Does my insurance or provincial drug plan cover this brand?
- Does this meter need coding or calibration, and how hard is that?
- If this store stops carrying it, where else can I get strips?
- What happens if the meter breaks — is there a warranty?
Write the answers down. A meter chosen with those five answers in hand is one you’ll still be happy with a year from now.
The calm way to start testing
Quick answer: keep the setup boring and repeatable — same spot, same time, numbers written down or synced. The meter is a tool for spotting patterns, not a judge of your day.
Once the meter is home, the routine matters more than the device. Test where and when your care team suggested, record everything, and bring the log or app history to appointments. If a reading surprises you, don’t rush to re-test the meter — bring the pattern to your care team and let them judge.
Everything in this guide is educational and works alongside the guidance your care team has given you. Their instructions about your targets and testing schedule always come first.
Related reads
- CGM vs Finger Sticks: Which Monitoring Style Fits Your Life
- Best Apps for Tracking Blood Sugar — and What to Log Besides Numbers
- Buying Diabetes Test Strips Online Without Getting Burned
- Does Insurance Cover Diabetes Supplies? A Plain-Language Walkthrough
- What Is Type 2 Diabetes, in Plain Kitchen Language
This guide is also available in Spanish: Cómo elegir un glucómetro sin gastar de más.
Frequently asked questions
What actually matters when choosing a glucose meter?
Quick answer: four things — accuracy you can trust, strip cost over a full year, how easy the display and buttons are for you to use, and whether your data can be shared with your care team.
Why is the meter cheaper than the strips?
Quick answer: meter makers often sell the device at a low price and earn on the strips you buy every month.
Which features are worth paying for?
Quick answer: a memory with averages, Bluetooth to an app, and results in under 10 seconds are genuinely useful. Paying extra for features you won't use — like full graph screens or every alternate site test — rarely pays off.
Where should you buy your meter?
Quick answer: a local pharmacy first, an online store second. A pharmacy gives you the right strip refills on the spot and someone to ask questions to; online is fine once you know exactly which strips your meter uses.
What should you ask before you pay?
Quick answer: five questions — strip price and coverage, whether your plan reimburses this brand, how to calibrate or code it if needed, where to get the strips in six months, and what the warranty covers.
Want the complete system?
This guide is based on Hardy's ebooks — plain-language, step-by-step PDFs you can read in one sitting. See all guides
Educational content only — not a substitute for advice from your doctor or pharmacist. Always work with your care team.